
You know when you find the perfect shoe and you are so head over heels in love with it that you truly believe that you are going to cherish it forever and never stop loving it as much as you do in that very moment? But then of course, as time goes on, the allure fades, and you just get over it?
Well, that’s how I felt about my lashes. For two years, I embraced the Bambi-eyed, over the top lash look, and now I am giving it a break. To try something new, I am amping up on all hair growing vitamins (Viviscal and Biotin) and serums (hello, Revitalash) and going for a slightly more subtle and sleek androgynous look. Kinda digging it.
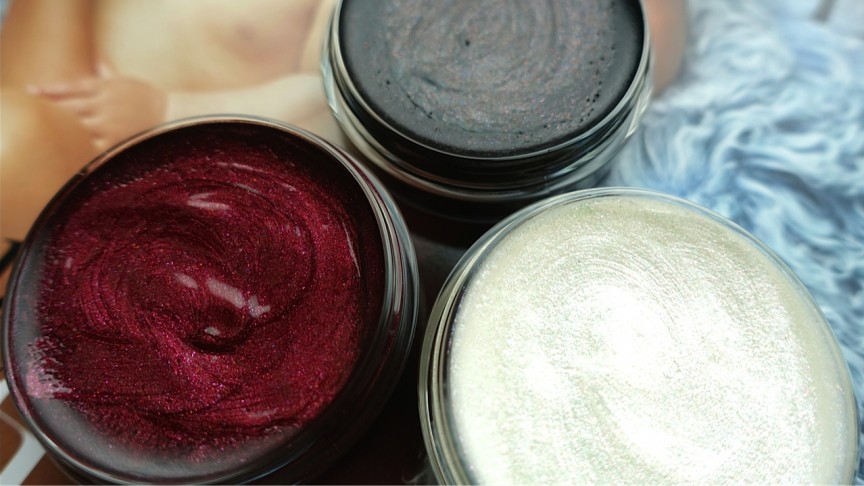
In the meantime, before I go back to lash attack (or maybe I just stay au natural for a while?), I am diving full force into one of my all time favorite makeup trends: the glossy eye. MAC Pro Studio Eye Gloss is like…everything. Remember a few weeks ago when I posted the tutorial on how to get the most bada** glossy eye thanks to makeup pro Tom Pecheux at Sophie Theallet? Well, he used MAC’s Pro product, and now the gloss comes in four magical shades you can have for your very own collection.

How to apply for subtle and everyday use? Gently tap Pearl Varnish or Lightly Tauped Studio Eye Gloss with your ring finger. Start by applying it in the center of the lid, close to your lashes but without touching them. Blend the product from your lash line upwards, stopping before you reach the crease of the eye. For a glossier lid, grab more product and tap lightly over the product closest to your lash line.
To really make things easy, try wearing the gloss alone, sans liner or shadow and anything else that will run, smudge or budge. If you’re dying to wear eyeliner in addition to the gloss, apply it on the inside of your lashes instead of on top of the lid. This will keep things from going all over the place.
One thing to note before going gloss, it doesn’t last for 18 hours, so if all-day wear is your thing, you might want to skip this one. Personally, I love wearing gloss for both day and night, so I will apply it sparingly and touch it up throughout the day. The work is totally worth it.
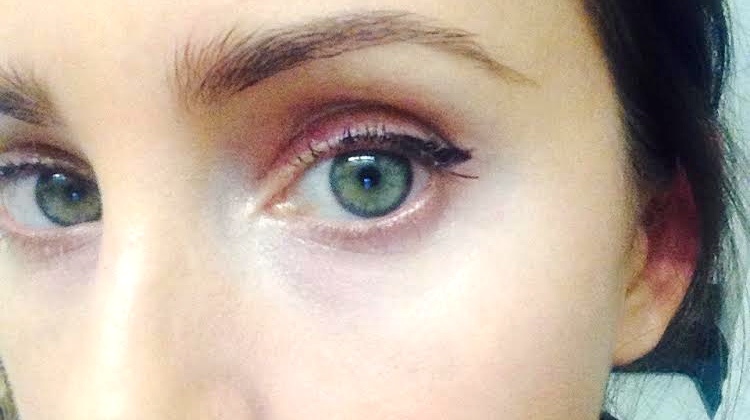
For those of you looking for a spooky twist for Halloween, try this vampire lid method. It only involves a little liner and mascara.
 0
View All
0
View All