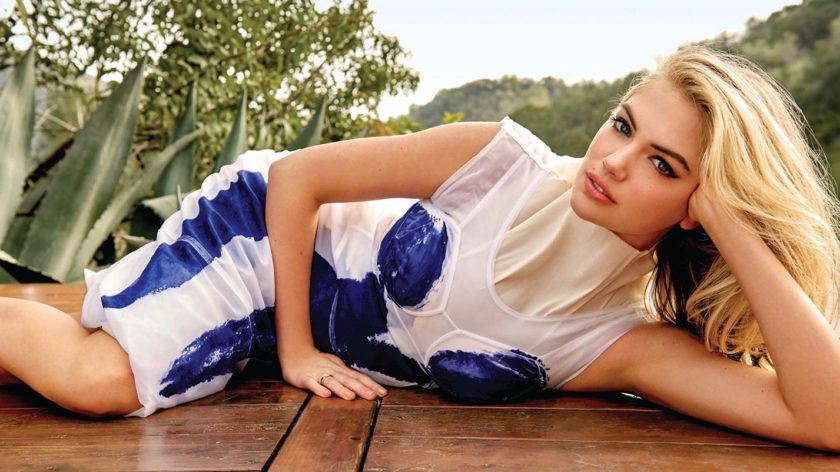

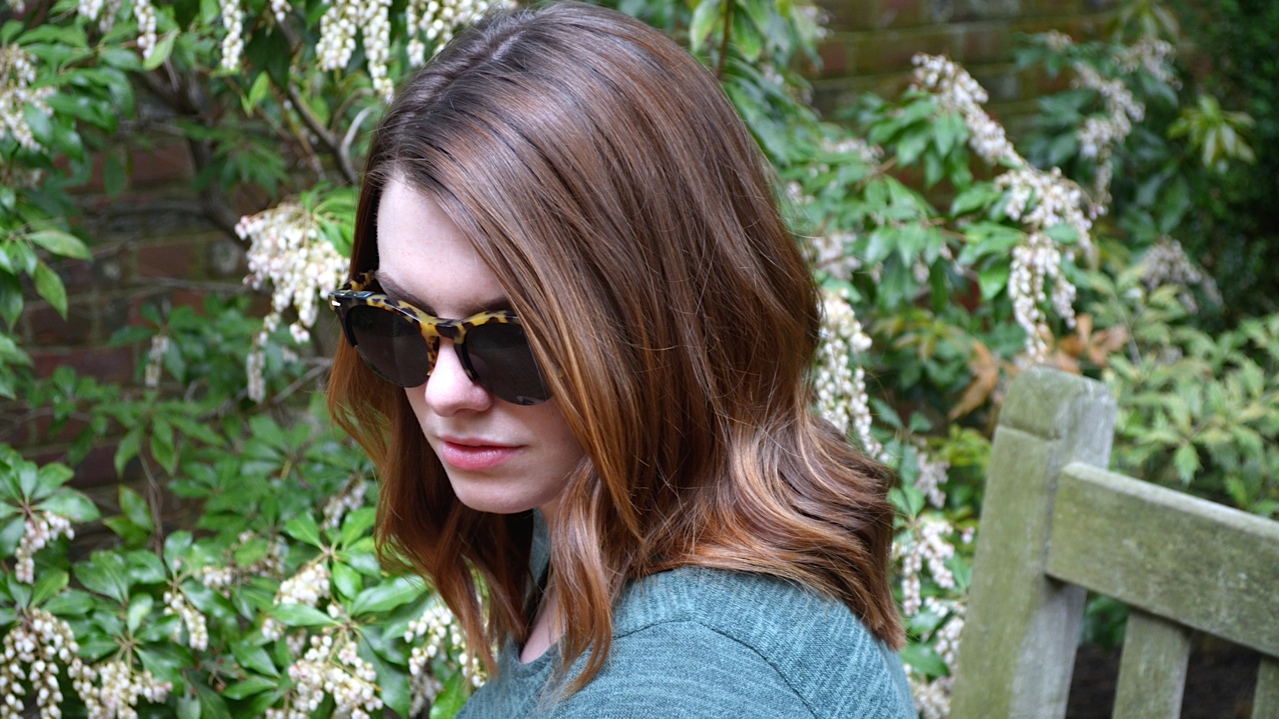
Ever since NYFW there’s been a new hair trend on the rise in the beauty world: ‘rich-girl hair.’ The style is smooth, clean, effortless, and marked by a slight curl framing the face. Models at Carven, Jason Wu, and Versace all flaunted the sophisticated style, which was the cherry on top of each designer’s no makeup makeup look. But what is so great about this style is its ability to elevate au natural, making clean, no-fuss beauty feel luxurious rather than lazy.
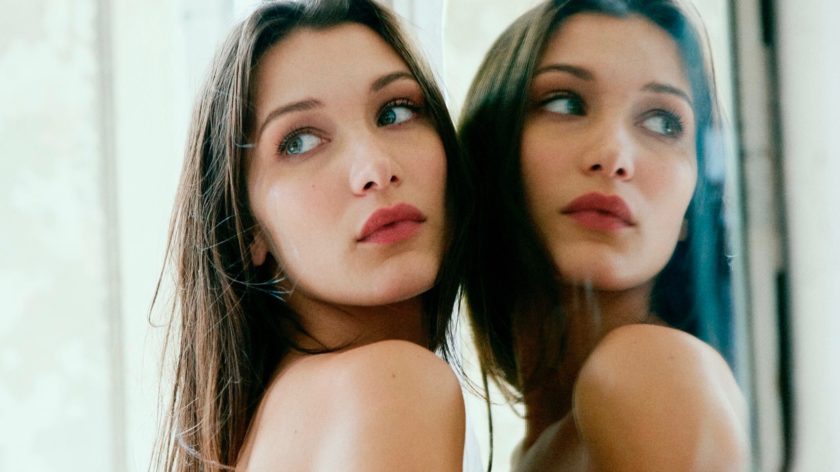
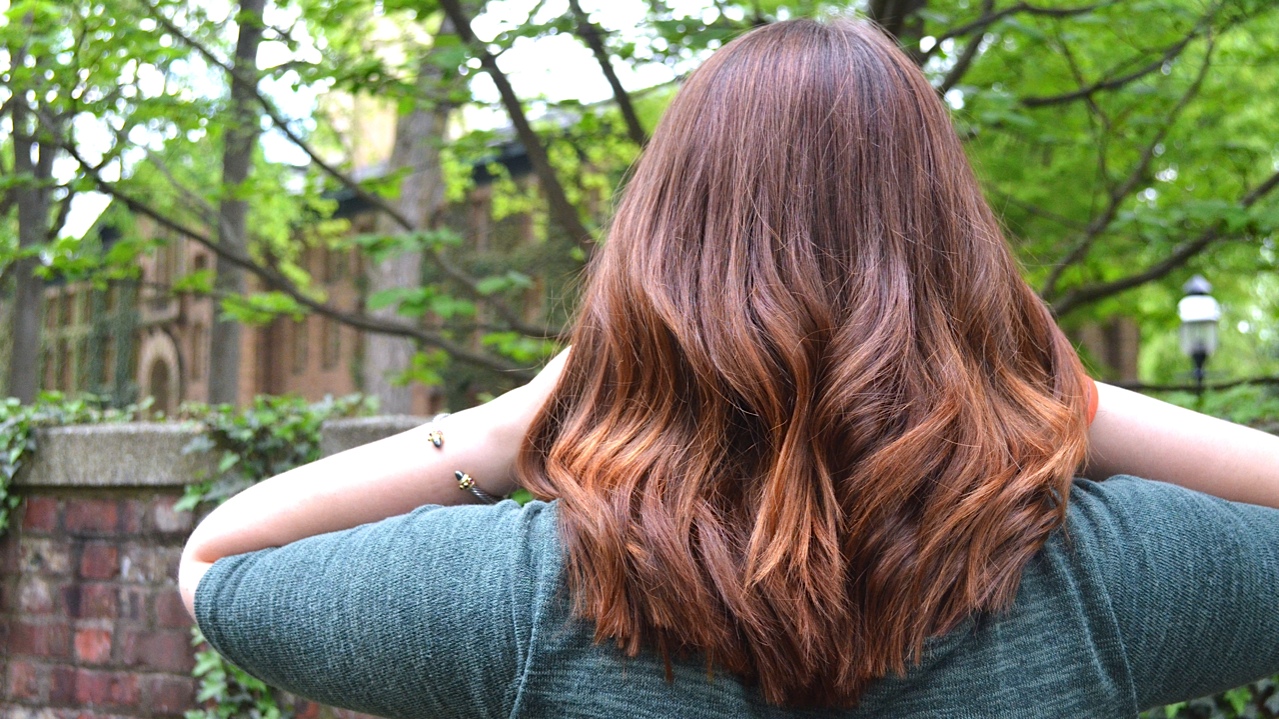
Spring is the perfect time to give this look a try. With the temperatures on the rise, it’s nice to have your hair gracefully blow in the wind as you stroll along sidewalks lined with blooming trees. The key to rich-girl hair is creating lightweight moisture that gives your mane a delicate bounce, so it moves naturally as you do. Softness and shine are also important, making your hair whimsically catch sunlight as you explore the outdoors.
Right about now, you might be thinking, yeah yeah yeah, when it comes to hair, “effortless” is often code for lots of work or a visit to an expensive stylist. Don’t let the name fool you. The purpose of this look is to condition and nurture, honing and enhancing your hair’s natural beauty. The style is supposed to be undemanding while looking like you just splurged on a salon treatment. So how to get this posh ‘do, you ask? I tried the style out myself, and have created a step-by-step guide to help you easily achieve this look at home.
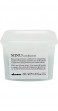
While some hairstyles call for slept-in second-day hair, rich-girl hair demands ultra clean locks. This means you’ll need to deeply shampoo and condition to rid your hair of any impurities that could potentially weight it down. When I need to have my hair feel immaculate, I turn to the Italian brand Davines. I use their Minu Shampoo as well as their Minu Conditioner. After shampooing, apply the conditioner and let it sit for 5-10 minutes and then rinse. This lets your hair absorb the product’s hydrating properties for long lasting moisture.
Step 2: Apply a lush serum or cream
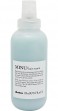
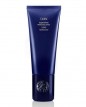
After you get out of the shower, apply a serum or cream to lock in moisture, making your hair feel soft and detangled. Since I have thick hair, I like to follow up with Davines’ Minu Hair Serum, because it adds shine and softness without feeling heavy or greasy. If you have thinner hair, you can use this instead of the Minu Conditioner. Seriously, it’s magic. I also like to switch it up and use Oribe’s Supershine Moisturizing Cream, which is like a leave-in conditioner. It delivers serious hydration, so a little goes a long way. For both products, apply to the hair starting at your neck, and continue to your ends then comb through.
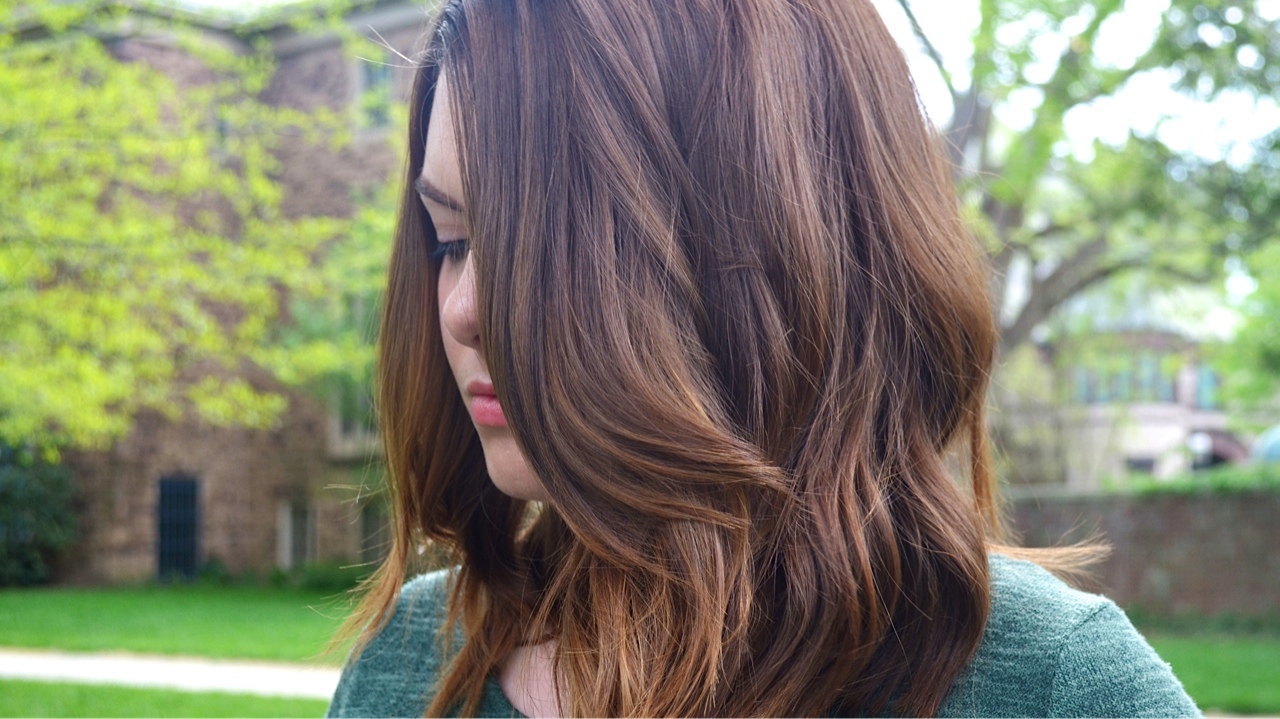
Step 3: Blow-dry to add volume
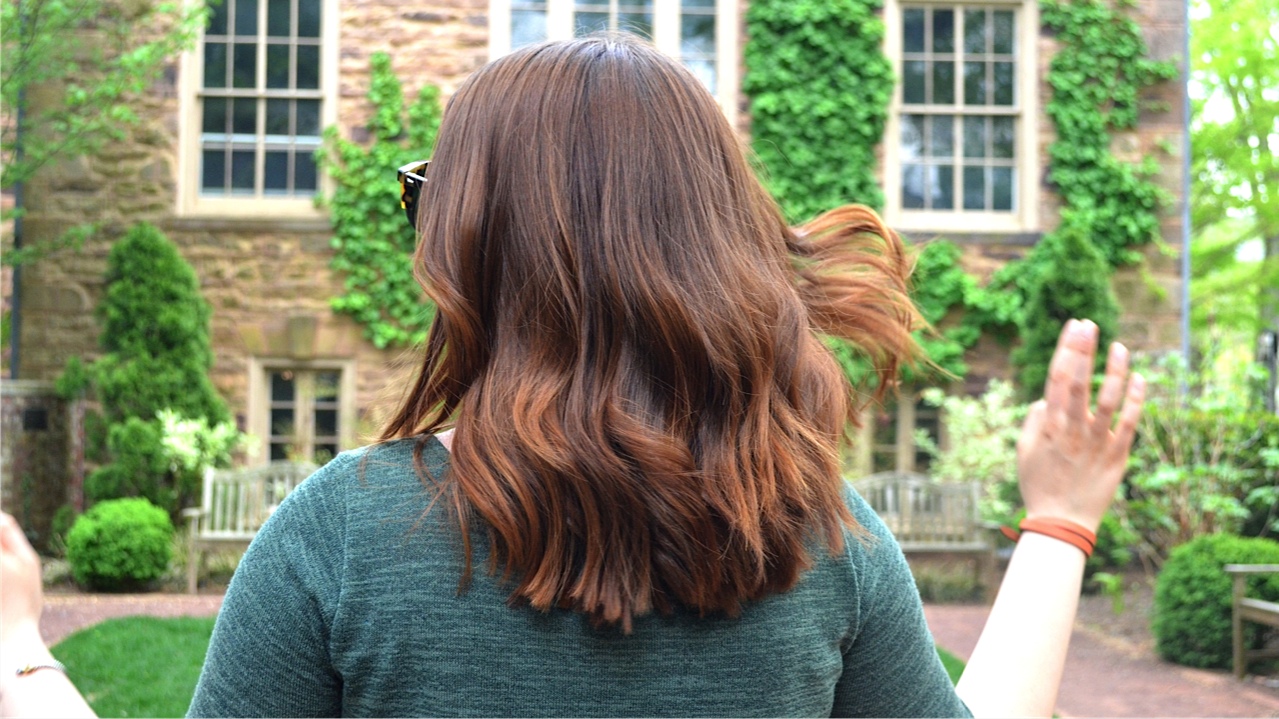
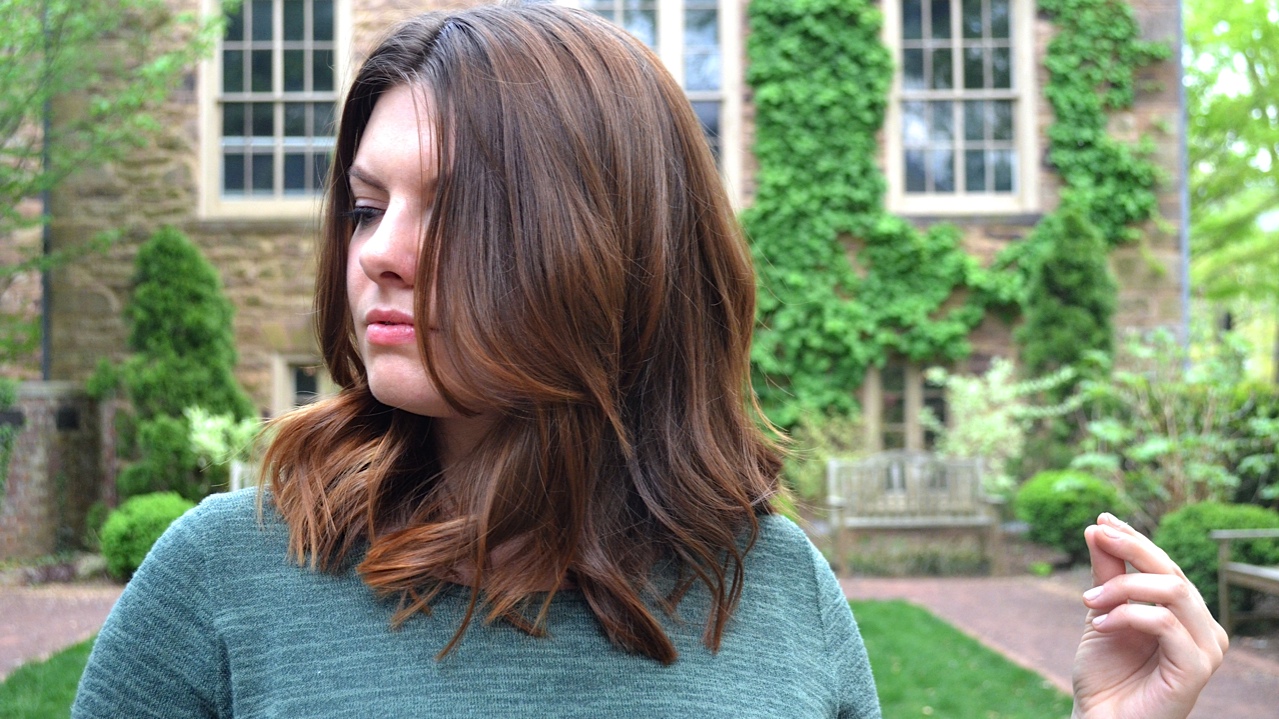
Once your hair is properly protected, you are ready to blow-dry as you would normally, focusing on adding a slight lift to the crown and around the face. Be sure not to go too far with volume, though, as this style is meant to look relaxed. Both middle and side parts work for this look. For a runway-inspired take with an edge, try out a middle part. If you’re going for something more romantic, stick to a side part. As you can see, I gave both a try.
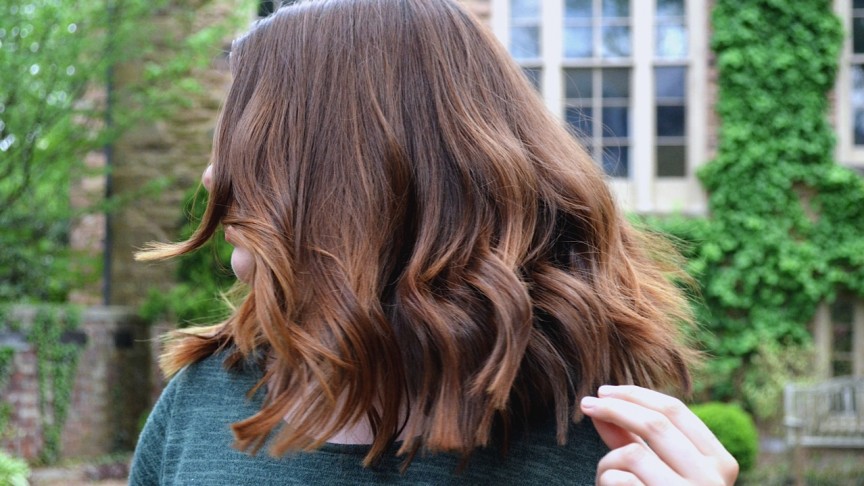
Step 4: Add gentle curl
Once your hair is fully dry, take a curling iron and delicately curl a few pieces in small to medium vertical sections depending on your hair’s thickness. For thicker hair, go smaller and for thinner hair, go bigger. Create loose waves throughout the hair, leaving the ends slightly straight. This gives the effect that your hair naturally takes this shape, which is just so chic.

 0
View All
0
View All