Fall 2013 was the year of statement brows, inspired by the perfectly groomed bushy arches of Cara Delevingne, Erika Bearman (Oscar PR Girl) and Audrey Hepburn. Since the fall shows, it seems like a new trend is emerging. Many girls are daring to leave their brows completely untouched – I’m taking sans plucking! I know, this seems a little insane, but it’s so chic.
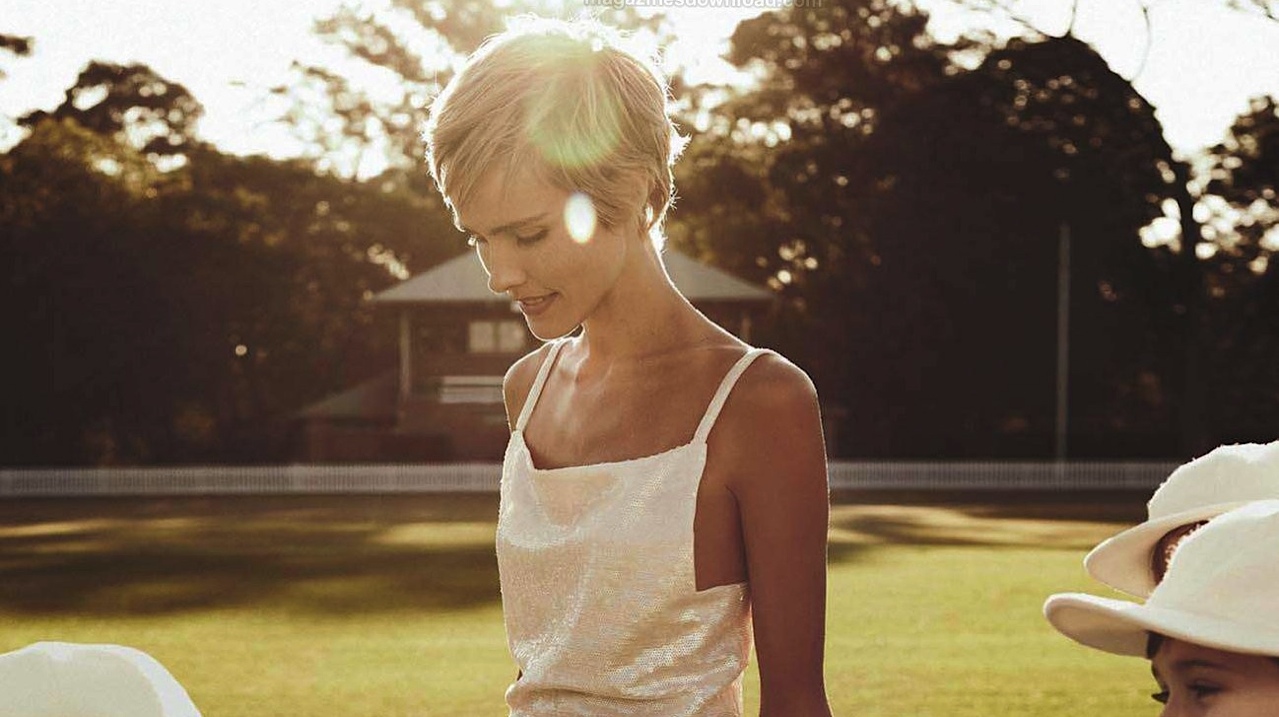
Whether you’re daring enough to pull off the au natural, modelesque brows or you prefer something on the safer side, bold is always better when it comes to your brows. I was recently inspired by Isabel Lucas’s set. Her brows are thick, slightly wilder throughout, but definitely still shaped and brushed in the upward and natural direction. The areas where her brows are not completely full are clearly penciled in and brushed to get all the hair moving in the right direction, but as you can see, she really let her brows grow out.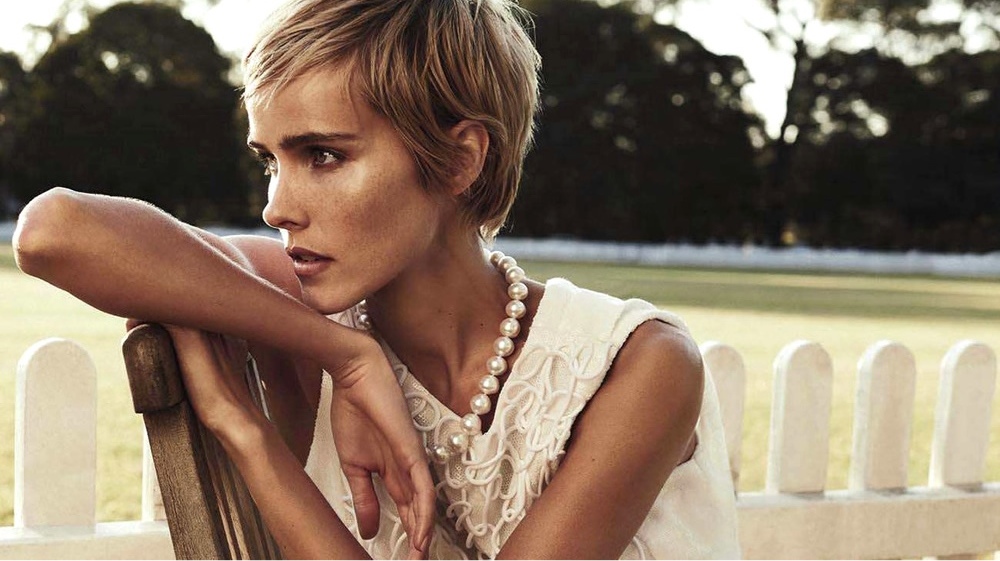
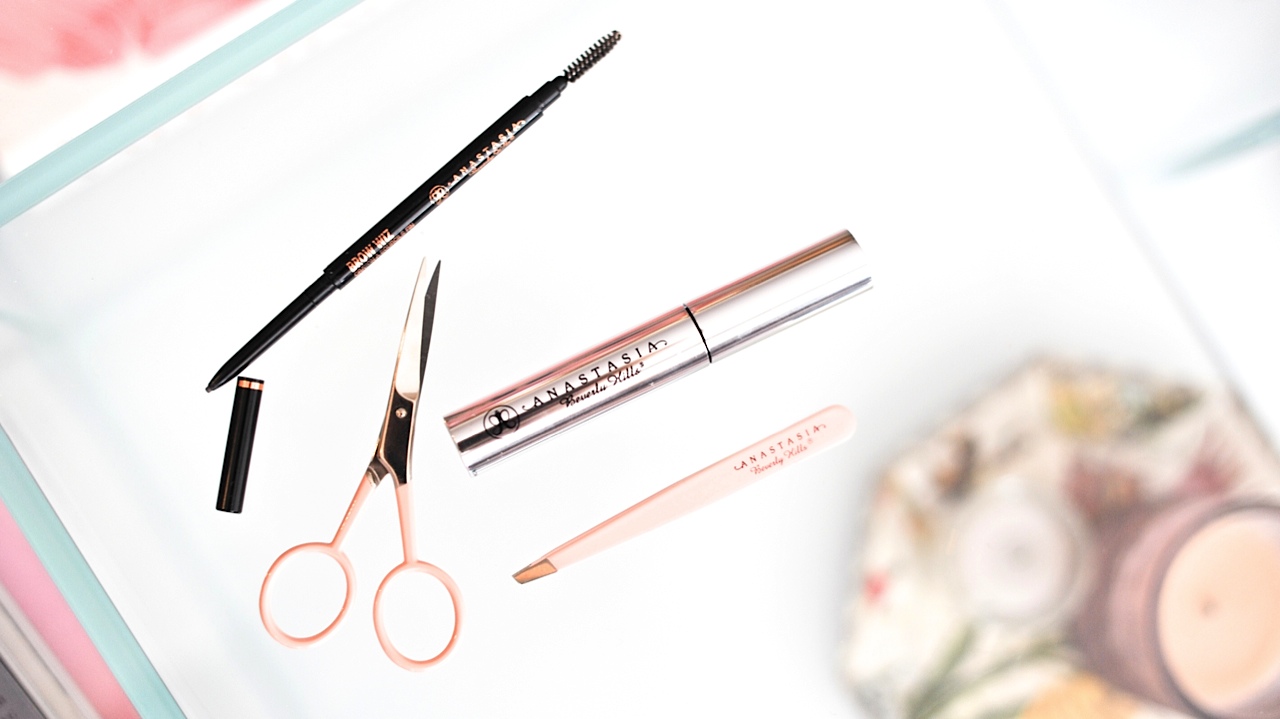
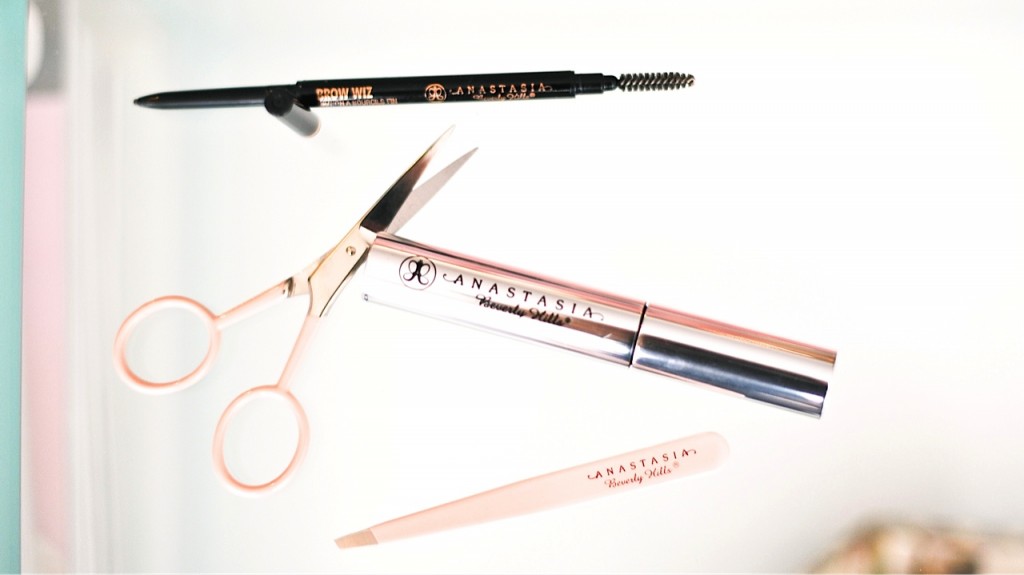
1. Tweeze stray hairs that are out of place, but don’t go overboard. Take a step back from the mirror every few plucks to check your progress. The Anastasia Precision Tweezers are my go-to tool for plucking because they pull even the most stubborn of hairs. They are also made in Italy, which has to mean something.
2. I do find that the key to my shape is to ever so slightly trim the stray edges of my brows to get a more angled look. In order to do this right, comb hairs upward at an angle (using one of those disposable mascara wands), in the direction of the brow. If any hairs are noticeably longer than others or hang over the edge, snip sparingly. Don’t go crazy. I also love Anastasia’s Scissors for cutting.
3. Once I have my general shape, I feather in my brow with a pencil one shade lighter than my hair’s natural color. I have tried SO many pencils and the two best are Anastasia Brow Wiz and Kevyn Aucoin Precision Brow Pencil. They are both twisty and they are dual ended, with a brush on the end. They create definition without looking too severe. If your brow is naturally thick or heavy, only define where necessary. This will likely be at the arch and outer corner of the brow. I like to really extend my brow longer.
4. Next, I like to diffuse any hard lines by lightly sweeping a foundation brush over the brows. The YSL Foundation Brush is my fave.
5. Last but not least, I finish with a clear brow gel. This is the KEY. This keeps my brows in place all day and night. Anastasia and Maybelline are the best at keeping every hair from straying without leaving brows feeling stiff. A little trick to make your brows feel thicker and more Isabel like is to brush the hair closest to your nose not only up but slightly inward towards the nose (see below).


 0
View All
0
View All